September 17, 2020
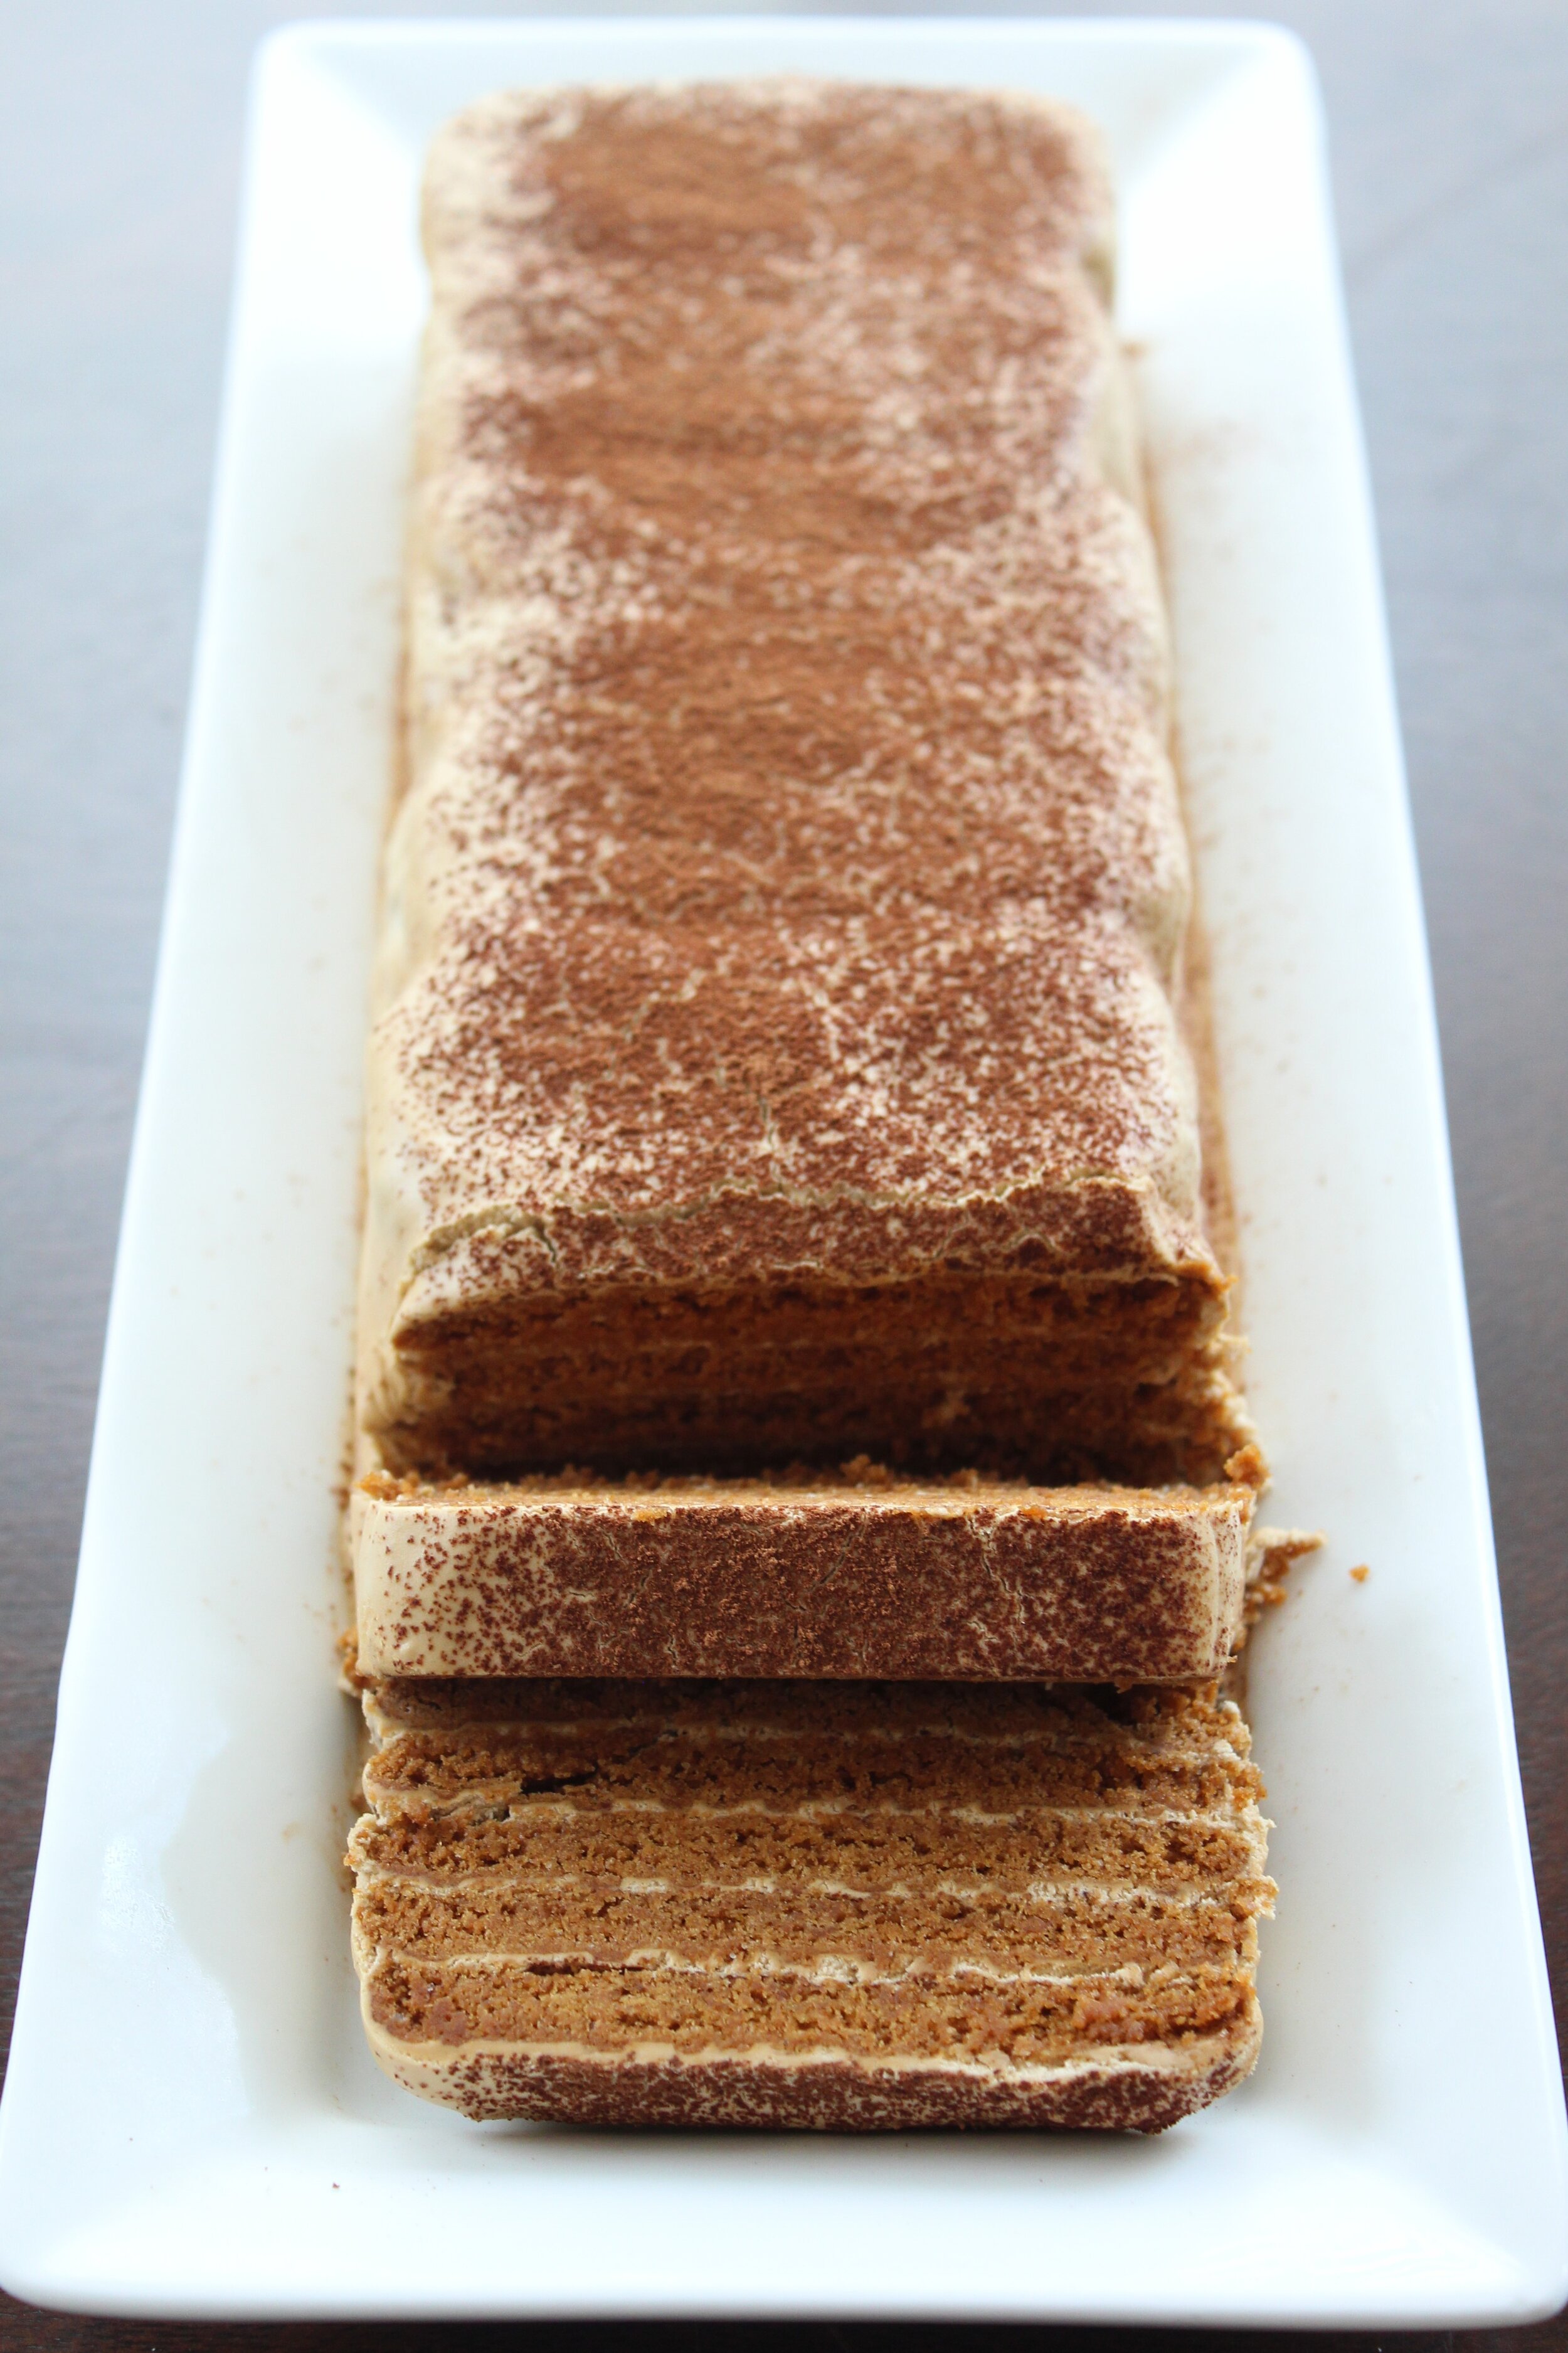
It has been a while since I have shared a recipe for an icebox cake. Earlier this month, I picked up a bag of Biscoff cookies (okay, maybe two bags) as I was on my usual grocery run. The cookies weren’t on my list of groceries to buy, but when I strolled through the cookies aisle to pick up some graham crackers, I caught a glimpse of the red and white package and couldn’t help myself. Staring at the bag of Biscoff cookies made me reflect back on some of my past travels. It was always a treat offered on domestic flights throughout the U.S. Whenever I flew to visit family or friends throughout the U.S., Biscoff cookies were always offered as a snack on the flights. As I stared at the bag of cookies, I came up with the marvelous idea of making an icebox cake using Biscoff cookies. The flavor profile for the cake immediately came to my mind. Biscoff cookies are usually served with coffee, so why not add espresso powder directly into the heavy cream and whip it into an espresso flavored cream. I usually make icebox cakes during the summer months because the summer heat makes me want to avoid using kitchen appliances as much as possible. Making an icebox cake is not only easy, but I also get a beautiful, delicious treat minus the vast amount of effort it would take to bake and frost a cake entirely from scratch. The moment I got home from my grocery run, I began building the icebox cake. I quickly whipped together a simple espresso whipped cream using heavy whipping cream, confectioners’ sugar, and instant espresso powder. Part of the reason for adding espresso powder into the whipped cream was so I could start using up the espresso powder I had stocked up on earlier this year to get my fix of Dalgona coffee. At the last minute, I decided to sprinkle in some cocoa powder. I wanted the cake to be somewhat reminiscent of tiramisù and thus adding in cocoa powder helped do the trick. I whipped up the espresso cream in a mason jar, a trick I developed along the way after making one too many messes while whipping cream in the kitchen. Once the cream started to thicken, I started to build my icebox cake, sprinkling in cocoa powder in between each layer. When I finished building the cake, the hardest part was to leave the cake alone for a few hours in the fridge before coming back to it hours later. Chilling the cake untouched in the refrigerator was the key to top notch icebox cakes. When enough time has passed (usually several hours), the cream will soften the layers of the cookie in the dessert, and I will end up with the perfect soft, creamy, and oh so fluffy icebox cake. The Biscoff and espresso icebox cake is perfect on its own, but even better served alongside — you guessed it — more coffee. Just one bite into a slice of the cake and I could taste the flavors of spiced cookies, espresso, and cocoa shining through. I have to watch myself to make sure I don’t eat too much of the icebox cake in one sitting. This icebox cake is so fantastic, I’ve made it three times this month alone. For my next attempt, I may even spread on some raspberry jam to really bring the ice box cake over the top and add a sweet fruity touch to the dessert.
For the Biscoff and espresso cream icebox cake:
· 1 cup heavy whipping cream
· 1 tablespoon confectioners’ sugar
· 1 teaspoon espresso powder
· 30 Biscoff cookies
· 1 tablespoon cocoa powder plus additional for dusting onto top of cake
Directions:
1) Make the espresso cream by whipping together the heavy whipping cream, confectioners’ sugar, and espresso powder in a mason jar using the whisk attachment on a hand mixer. Whisk on medium speed until the espresso cream begins to thicken, about 1-2 minutes.
2) Spread about a tablespoon of espresso cream onto the bottom of the rectangular plate. Arrange six Biscoff cookies in one layer. Add another layer of espresso cream. Dust on some cocoa powder. Top with six more Biscoff cookies and repeat with layering on espresso cream and dusting on cocoa powder. Continue layering until you complete the five layers. Spread the remaining espresso cream around the layers of cookies until fully covered. Dust on cocoa powder at the very top layer of the cake.
3) Loosely wrap the icebox cake with a sheet of plastic wrap and place into the refrigerator. Let the icebox cake chill in the refrigerator for 6-8 hours (or overnight) before serving.
Takeaways: The icebox cake definitely tastes better the longer it chills. Depending on the texture you want for the icebox cake, you can chill the cake for anywhere from four hours to twelve hours. When I chilled the icebox cake overnight, the cream soaked into the cookies and made for a super soft, slightly fluffy cake. The next time I make this icebox cake, I plan on making a vegan friendly version featuring whipped cream made with canned coconut milk and confectioners’ sugar. The Biscoff cookies themselves are already vegan friendly. I may even add in a layer of raspberry or strawberry jam for a fruity touch. Stay tuned!


